The bib I bought for my oldest son has seen it's better days. I hesitated to toss it because it has been a great bib! I can't say that for all bibs out there. What I like about it is that it snaps together at the bottom creating a catchall basin for food that drops. Now that I have used it so many times it has finally started to fall apart. That's a sign of true love!

Well a couple months ago, it dawned on me when I saw someone making a bib that I too should recreate the bib I love so much! While the old one is made out of a canvas material, I decided to just grab some $1 cotton fabric swatches from Wal-Mart. This way I can throw this one in the wash and dry it. The canvas one you have to hang dry it.
Some of the things you will need for this are your material, thread, interfacing and snaps.

1. Trace your pattern onto your material for a
front piece,
back piece
and interfacing piece.
Tip: Recommend making a paper pattern so that each piece you cut is the same.

2. Cut the front, back and interfacing pieces.

3. Since white can be a little boring...
I took my scrapbooking cutter and made a wave design on some paper.
Next, trace the wave pattern on the material and cut it out.


4. With the white material and interfacing together,
I pinned the wave material on the white backing, right sides facing each other.

5. Stitch along the bottom edge.

6. Fold down and press.

7. With your sewing machine, stitch the wave down.
This will leave the raw edges showing.

8. Next pin the top piece onto the interfacing and back piece.

9. Sew the 3 pieces together to prevent shifting,
when stitching the bias tape in place.
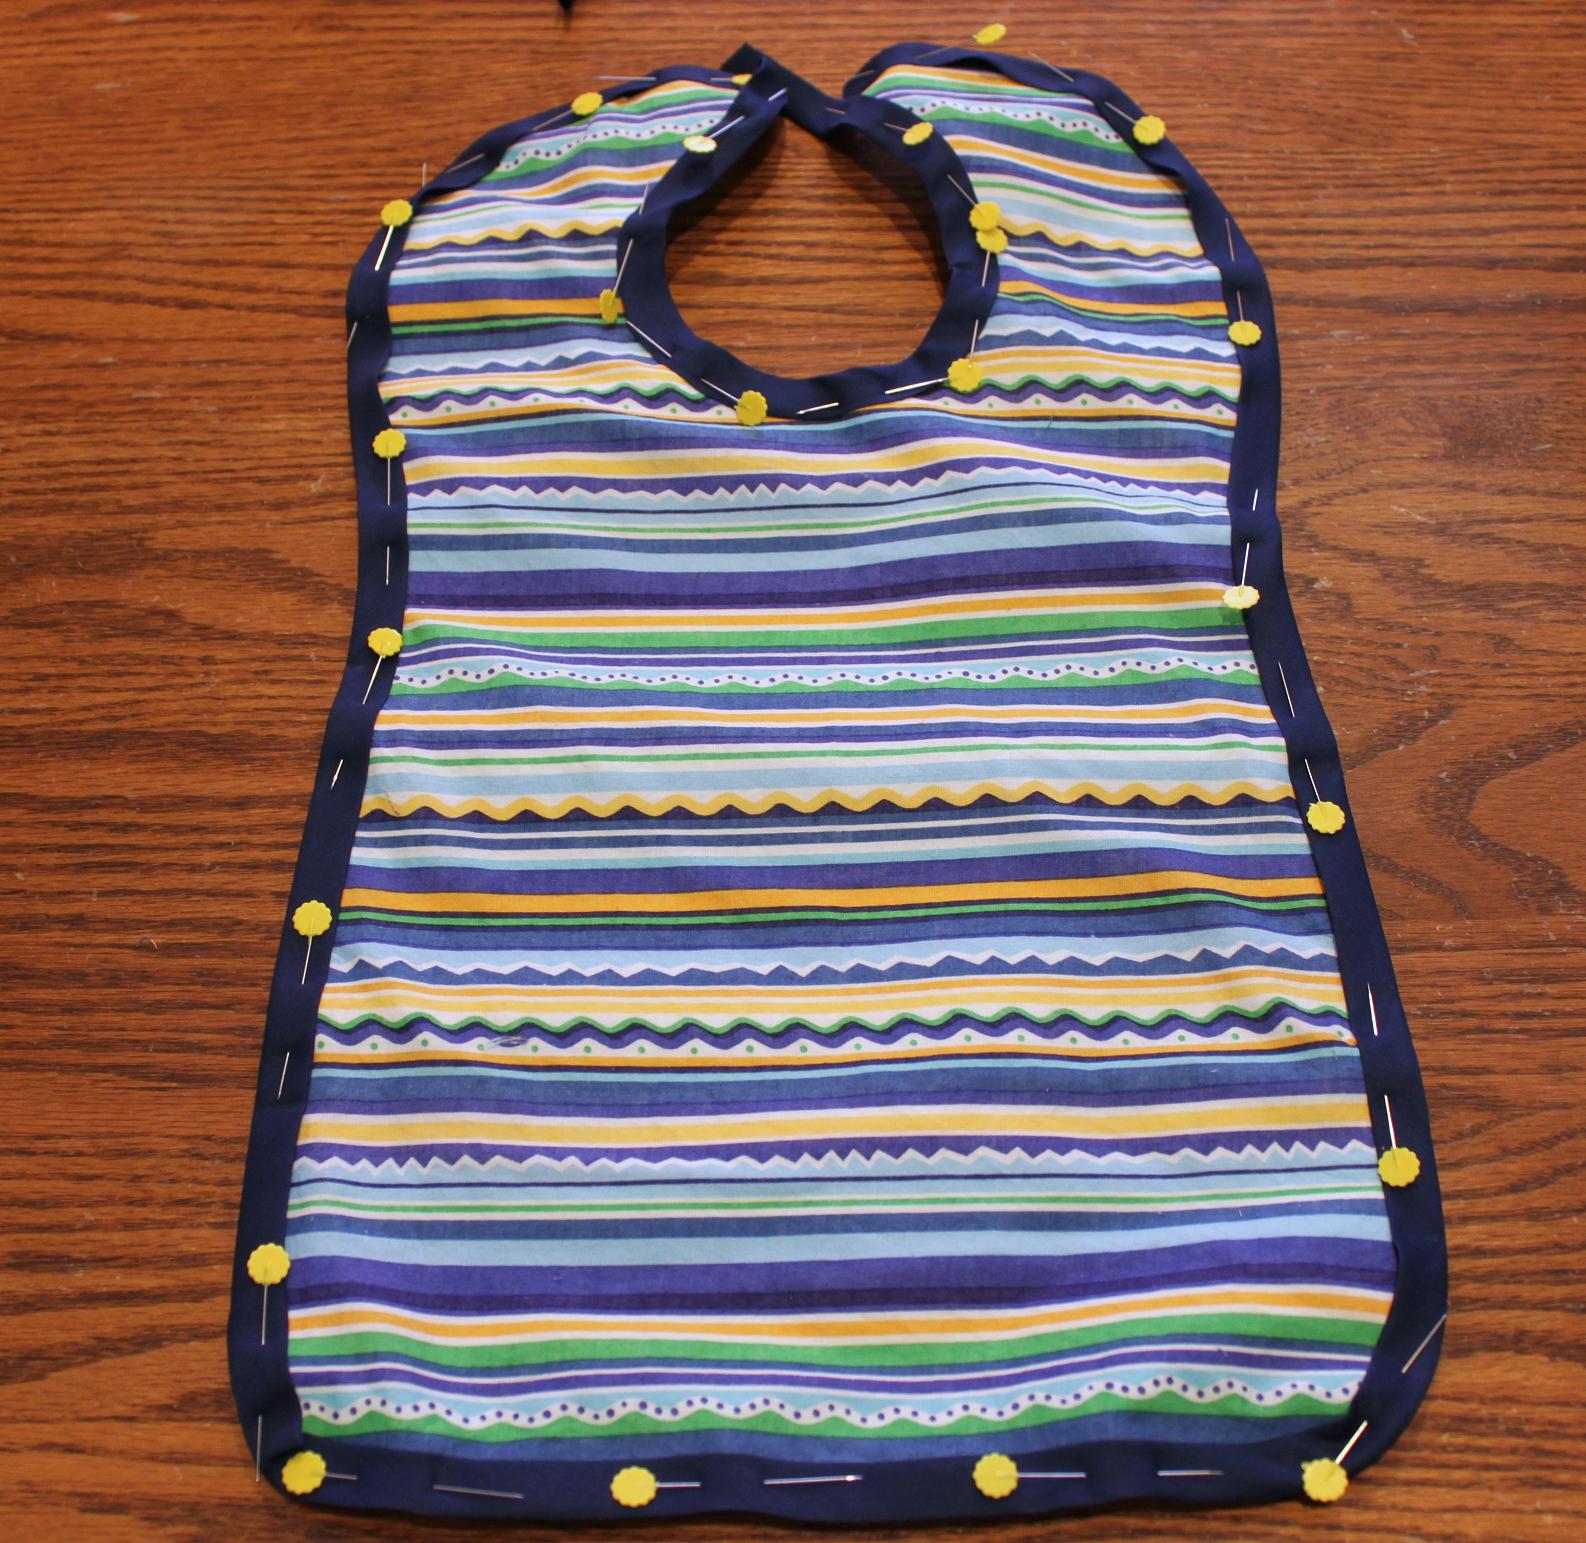
10. Pin your bias tape.

Almost done!

11. For your catching "tray":
Fold up the bottom edge and stitch the edges.

12. Add your snaps and you are done!
No comments:
Post a Comment